We'd booked ourselves on to a short lime plastering course about two hours north of OrchardyHaven, on the shores of Lake Hancza, famous for being the deepest lake in Poland.
 |

|
| Jezioro Hancza | The straw bale house |
 |

|
| Lime plastering on cob wall | Clay plastering inside |
We were interested in Lime Plastering for various reasons:
- Lime plaster is a traditional natural finish that breathes and has various other useful properties (see e.g. here);
- Our property was built using lime, so we want to keep the tradition and learn more about the material;
- We wanted to find out where we could obtain quicklime or natural hydraulic lime (NHL) in Poland;
- and we really wanted to meet Paulina Wojciechowska, the pioneer of straw bale building in North East Poland (she built the house we visited on our honeymoon).
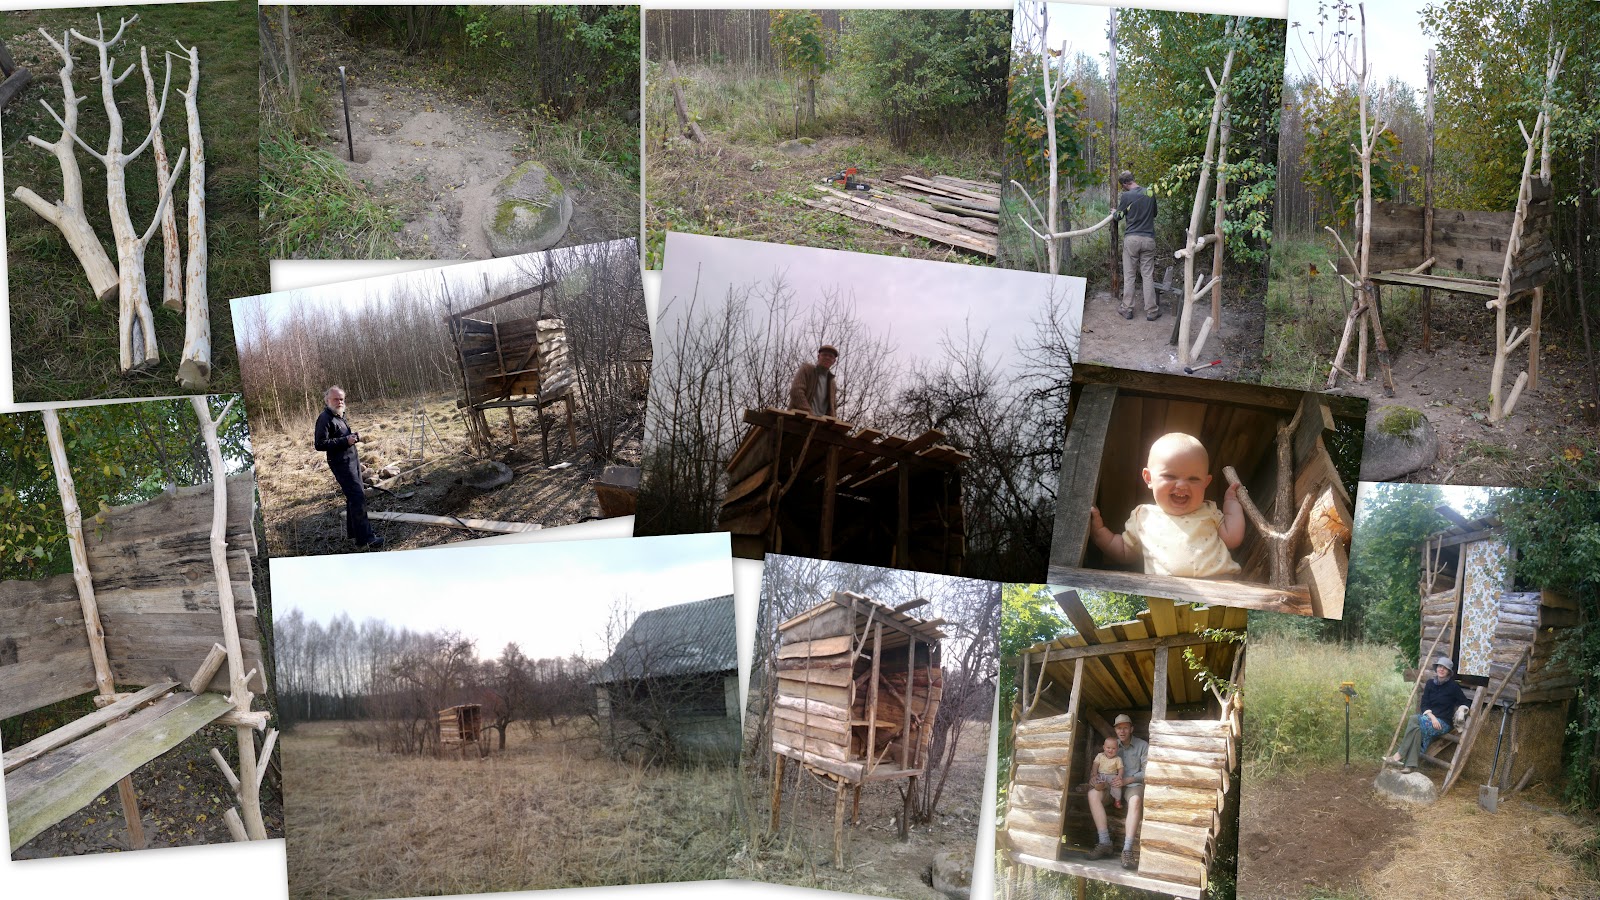
It was really good to go for these two days in Przełomka. We did meet Paulina and her partner Jarema, we saw 15 people from all over the world happily camping and working together in difficult conditions, and we got some hands-on experience, although we didn't find out how to get hold of good lime.
This experience made us eager to get back to work on our own place, and thanks to Jarema's encouragement we fixed the roof on the goat shed and got on with plastering the inside walls. Andrew joined us at this time, and despite pushing him to work so hard he quickly started talking about forming the OrchardyHaven Lime Appreciation Society! While I was stuck on the roof a lot of the time, Andrew really knuckled down to the plastering job and we got two coats on each of the three outside walls - pretty good for people with such little plastering experience as us.
 |
| Getting free sand from the quarry 500m away :-) |
 |
| After a sweltering first week it started to rain - a lot! End wall plastered though... |
 |
| Working on the roof |
 |
| Testing lime plaster outside |
 |
| The finished roof, just needs tiling next year |
Lots more notes could go in here:
- The sand was sharp but really fine - probably too fine for mortar or render. We didn't clean the sand either - potentially more testing and experimenting to do;
- We used builder's (hydrated) lime, easily available from any of the local farmers/builders suppliers. We did find that Kerakoll has a Polish branch that appears to sell NHL, but we didn't manage to chase them up and find any local suppliers. We added our lime to water and left it for at least 24hrs as recommended. We mixed the resulting 'putty' with sand 1:3 and after a few minutes looking far to dry it suddenly transformed into a really sloppy mix, although usable. We found that we could still use it even three days after making it.
- I also made a lime wash on the last day, mainly to treat our apple trees where I had to do some emergency pruning in August (last October seemed to early for pruning and Easter seemed too late, but I don't know when I'll be there at the right time so I just went ahead and pruned three trees). This was quite strange - really watery as it was painted on, then turning bright white after a minute - I realised I had made whitewash... :-)
- Most of our plastering was on the inside of the goat shed, but at the end there was some left and I tried it outside - on concrete blocks a) in a sheltered south-facing spot under the overhang of the barn roof and b) in a more exposed east-facing spot on the gable end (where I also forgot to wet the wall before applying the render). These are experiments to see how the plaster holds up over the Polish winter.
- The roof: most of the timbers were damaged by woodworm but after we cleaned them up they still seemed to be strong enough - we pressure washed them and spent quite a while stripping the rest of the bark (under 80% of the bark there were woodworm, stripped wood was mainly untouched); we put a breathable waterproof membrane on top of the rafters and purlins, and then 3cm thick spruce planks from our neighbour's sawmill butted side-by-side over this; we searched for second-hand tiles, but they were too far away and we didn't have time - we'll find some next year to complete the roof but it's easily strong enough to last through this winter.
- As you can see from the last photo I built some benches too, from off-cuts from the roof - finally somewhere to sit down (other than the toilet) - what a relief!